What A Deal: One Face For The Price Of Two!
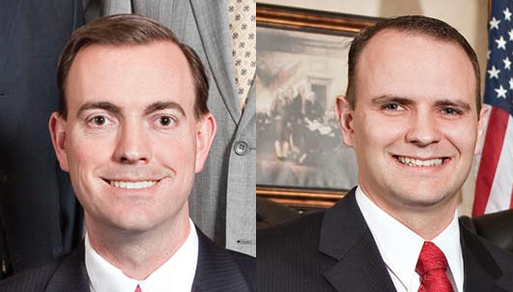
I needed to construct a semi-realistic “accountant type” for a recent assignment from Financial Executive Magazine. I decided to create a composite face from
two different photos. I opened the two original photos in Photoshop. Here’s what they looked like:
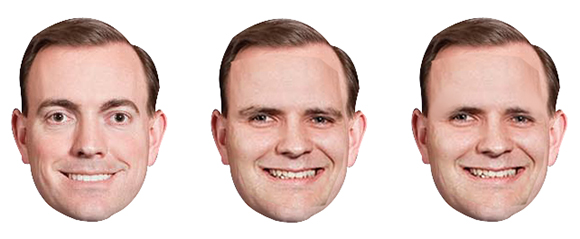
I pasted the second face onto the first head, then airbrushed out the far edges of the eyebrows:
I used a soft watercolor brush to eliminate the seams caused by pasting in the face.
I applied a couple of Color Adjustment Commands (Curves, Brightness/Contrast) to brighten the face. Then I used the Warp tool to distort the face and give it a nervous, comical expression: 
I rotated the head and applied the Warp tool again to fine-tune the expression. I
used the Pen tool to make very precise selections so I could “fatten” the hairline (using
the Clone tool), make the flesh tones more uniform and add a spot of color to
the cheeks (soft Brush, watercolor setting), and add reflected light to the forehead, cheeks, chin, and nose (Eraser tool, airbrush setting). I used the Pen tool to select
both the pupils and the whites of the eyes so I could define both of them more clearly and make them stand out.
I pasted in a pair of glasses which I had extracted from another photo. I used the
Pen tool to cut them into two different pieces, then duplicated the long end piece and applied the Warp tool to bend the glasses into position on the face. The mostly
black frames seemed a bit too stark, so I used the Clone tool to “color” the glasses by applying bits of the hair:
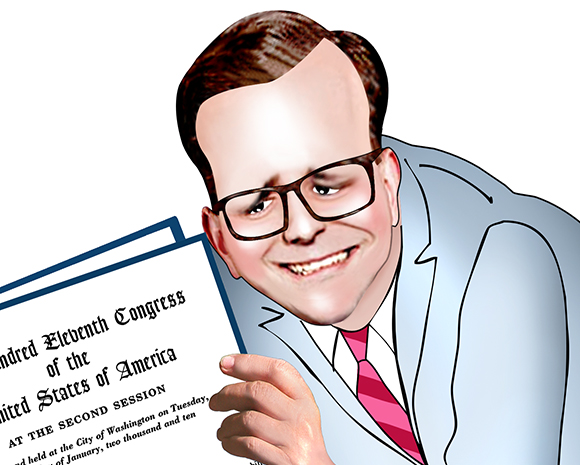
Here’s the finished face “in context” as part of the finished illustration:


