Drawing Board: Who’s That Man Hiding In The Brushes??
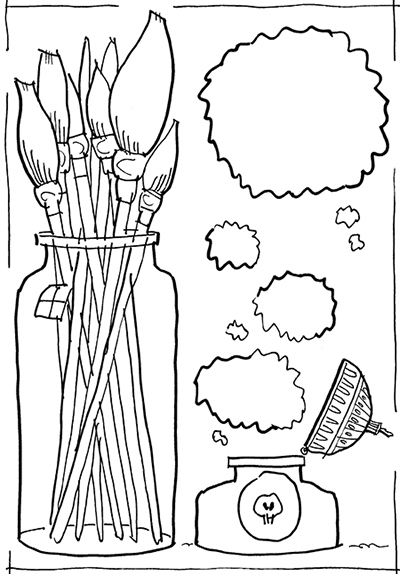
I do a weekly political cartoon for Congress Daily. Somewhere along the line, this feature became known as The Drawing Board. I created the following graphic for a projected redesign of the Congress Daily website. Scroll down for a condensed version of the construction sequence in Photoshop.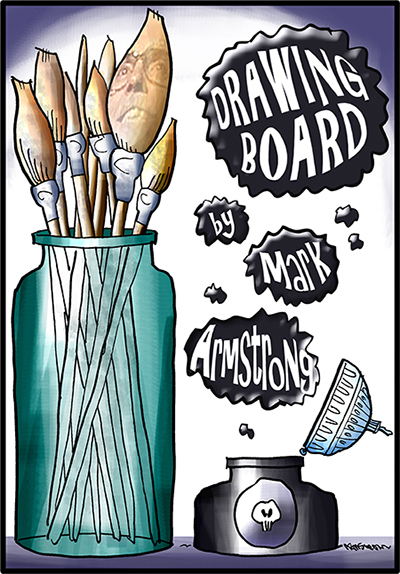 Here’s the original line drawing which I scanned into Photoshop:
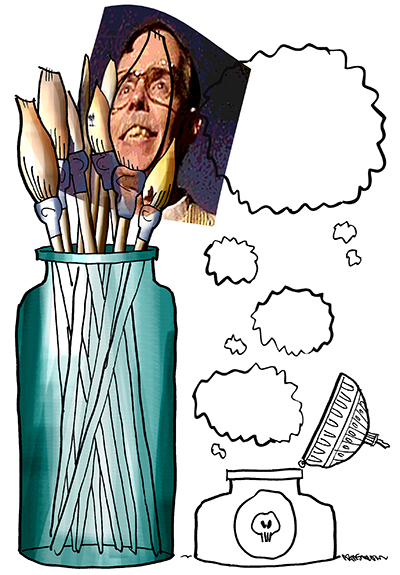
 I pasted a photo of myself into the drawing and used Photoshop’s Warp tool to stretch the face and give it roughly the same size and shape as the large brush tip:
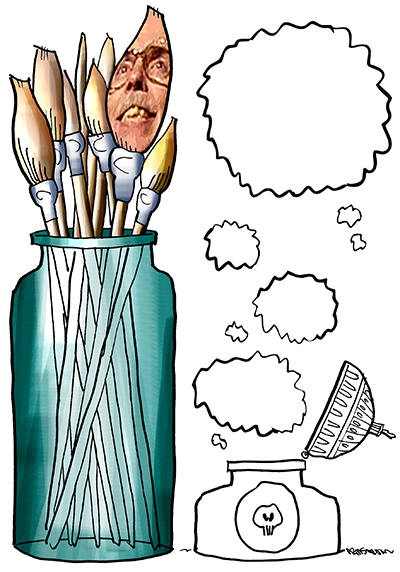
 I selected the brush tip area, inverted the selection, and deleted the unwanted portion of the photo:
 I added a New Layer, selected the large brush tip, and painted over it with a Photoshop brush set at low opacity using some of the same colors used for the other brush tips. This created the illusion of a ghostly face manifesting itself within the large brush tip:
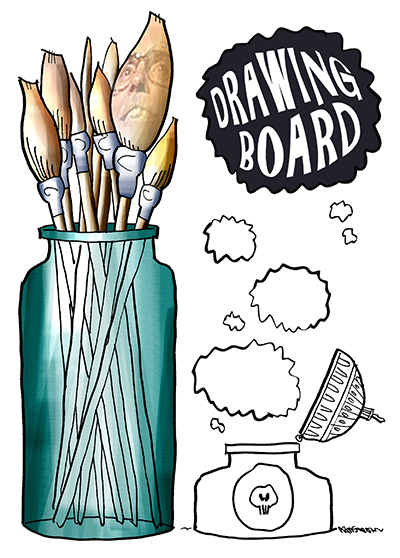
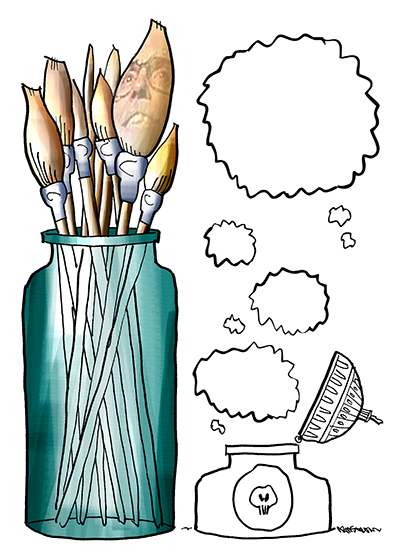 For the large uppermost ink blot, I put both the “black ink” and the white “Drawing Board” text on separate layers:
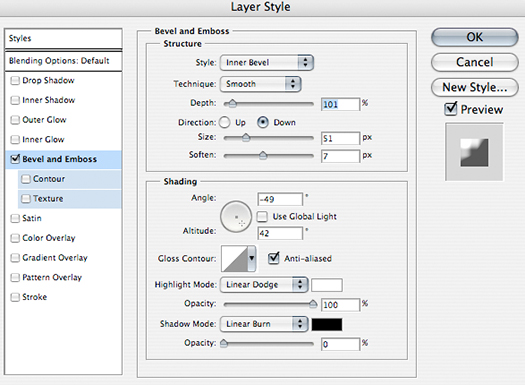
 I then applied a Layer Style to the “black ink” layer. I experimented with the settings, and finally chose those shown below:
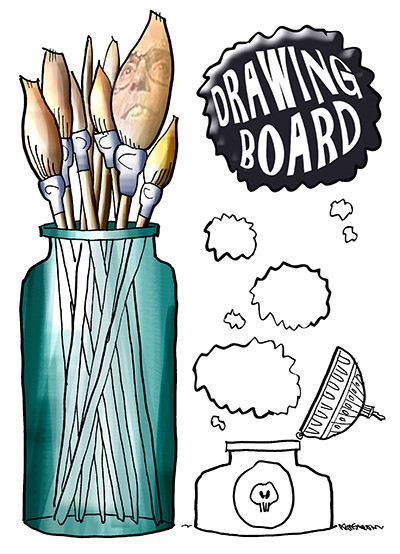
 This created the effect of reflected light along the top edge of the ink blot:
 I added similar reflected light effects to the other ink blots, but I wasn’t entirely satisfied with the finished illustration:
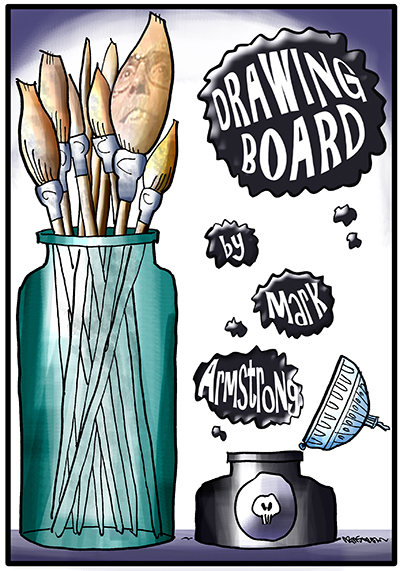 After flattening the image, I used the Scale tool to enlarge the lower three “text blots,” and then repositioned them slightly. This improved the overall balance of the image, and made the text more legible. Here’s the final:


Very cool to see how you constructed that, particularly for those of us without an iota of artistic talent. I was bummed to see that I need a subscription to National Journal to see your ‘toons, though!
LikeLike
Hey come on, you’re an artist– you just paint with words instead of messy ol’ ink and pixel pigments! Sorry about that subscription requirement. Good thing they gimme a free one so I can read up on the latest skirmishes and get ideas– otherwise I’d be outta luck myself! Thanks a lot for checking in!
LikeLike
Hi Mark
Thank you for the post. I have been trying to figure out how to paste a reduced opacity (ghosty) image into a composition I have been working on. I’m a bit of a photoshop neophite, so am clueless. I hope to try your technique with the low opacity brushes and see what I can get out of it.
Thanks!
S
🙂
LikeLike
Hi Sarah, you’re very welcome. There are always different ways to approach these things. You could also try pasting in your image, completely painting over it (with a brush set at full opacity) on a separate layer, and then using a soft Eraser (0% Hardness) set at very low opacity to erase the paint and gradually reveal as much of the (ghostly) image as you want. Does that make sense?? These things gradually fall into place thru experimentation. You’ll get it– good luck!
LikeLike
Mark,
I don’t know how you come up with them, but they’re great. Keep it up Mark! Love the photoshop tips, too.
Patrick
LikeLike
Hey, if you keep on makin’ my head swell, I’m gonna hafta go out and buy a new beanie! Sincerely appreciated, Patrick– thanks a heap!
LikeLike
Make sure you get the beanie with the propeller on it…
LikeLike
Is there any other kind?? : )
LikeLike
Hi Mark,
That was cool. I really seeing the step by step construction.
LikeLike
I’d’ve never gotten this blog up and running without all your help and good advice. It’s an honor having you stop by– thanks, TT!
LikeLike